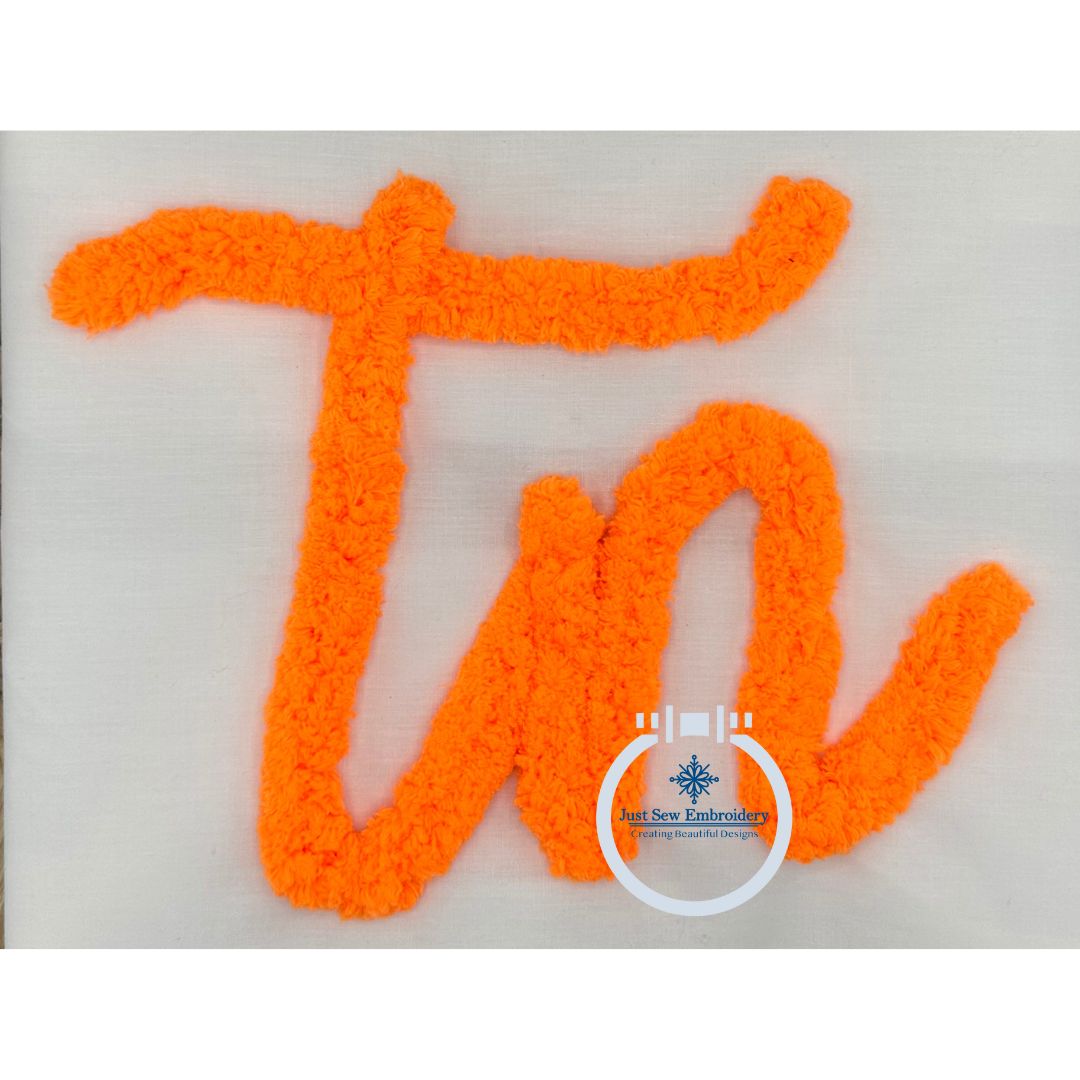
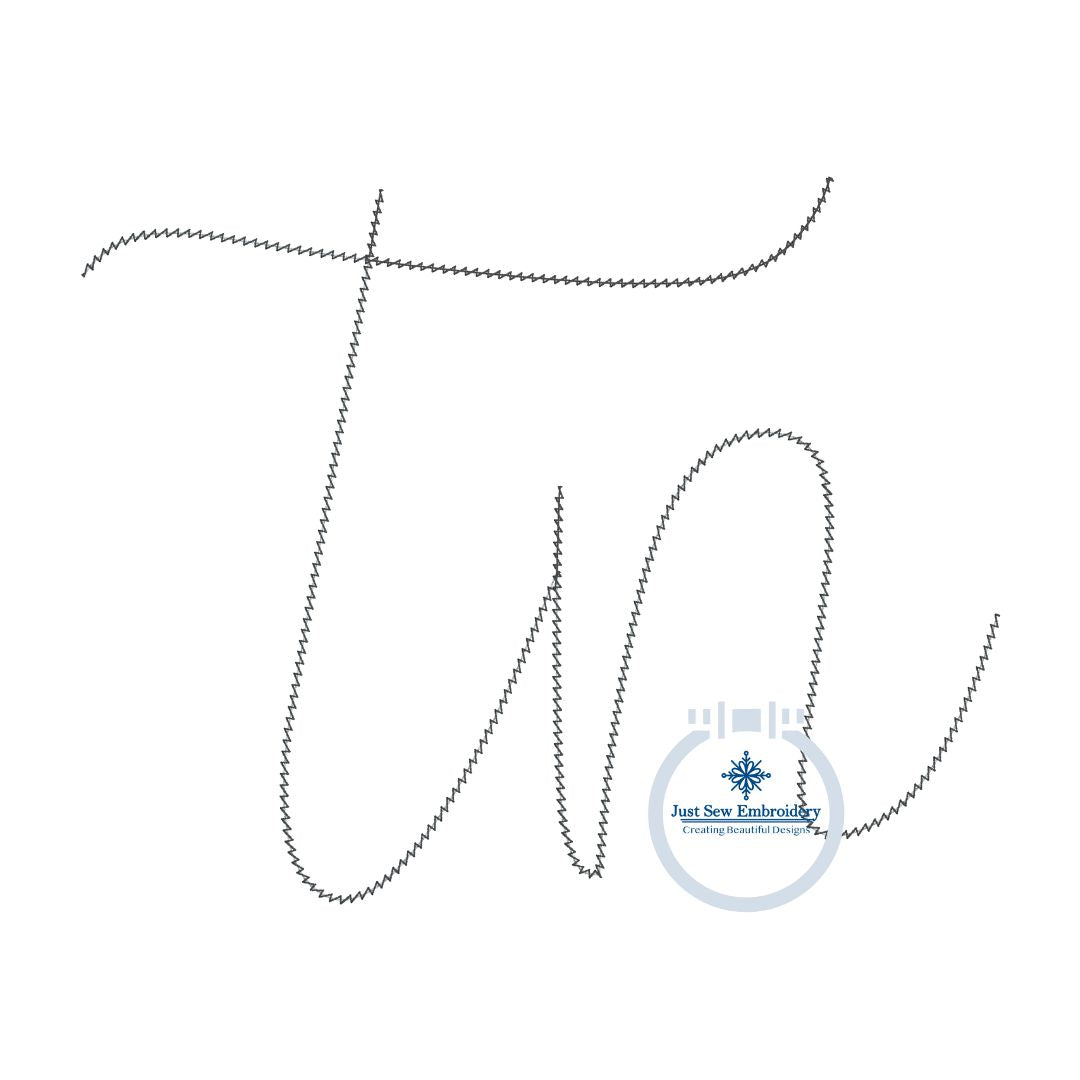
Tn Scipt Chenille Yarn Applique Embroidery Tennessee Five Sizes 5x7, 6x10, 8x8, 7x12, and 8x12 Hoop
Couldn't load pickup availability
Show your Tennessee spirit with this chenille yarn Tn script applique embroidery design!! The design features a narrow zigzag stitch, instead of a bean stitch, which is makes it easier to line up the yarn.
This listing includes five sizes:
5x7 hoop - 5 1/8 x 6 7/16 inches with 825 stitches
8x8 hoop - 6 3/16 x 7 7/8 inches with 993 stitches
6x10 hoop - 6 1/4 x 7 7/8 inches with 1000 stitches
7x12 hoop - 7 1/16 x 8 15/16 inches with 1124 stitches
8x12 hoop - 7 11/16 x 9 11/16 inches with 1216 stitches
This is not a patch. No physical product will be sent to you. This is an embroidery file and you must have an embroidery machine to use this product.
Available in PES, DST, EXP, HUS, JEF, VP3, and XXX.
This design may be used to decorate items for personal use or for sale, however the actual design may not be copied, sold, reproduced, or shared in any way. That is a violation of copyright laws.
This is a digital file available for immediate download. I cannot offer refunds on digital designs. If there is an issue with the stitched design, please let me know and I will do my best to correct your issue.
Where hoop sizes are mentioned, I am referring to the following hoop sizes:
Hat (60mm x 130mm)
4x4 (100mm x 100mm)
5x7 (130mm x 180mm)
6x10 (160mm x 260mm)
8x8 (200mm x 200mm)
7x12 (180mm x 300mm)
8x12 (200mm x 300mm)
9.5x14 (240mm x 360mm)
10.5x16 (272mmx460mm)
Chenille Yarn Instructions:
Do not change the colors of the two steps to the same color. They must be two different colors when you send the design to your machine so that the machine will stop in between the two steps.
Hoop your project and send the design to the machine. Run the first step, which shows the placement for the yarn.
Remove your hoop from the machine, but DO NOT unhoop your project. Use washable Elmer’s glue or double-sided tape along the stitches. I have not tried the double-sided tape method.
Place the yarn over the placement stitches, being careful to follow the stitches exactly.
Gently press down to make sure the yarn will not move during embroidery.
Place the hoop back on the machine and slow the speed down as slow as it will go. Run the final step, which is the narrow zigzag stitch to appliqué the yarn to the project. Be ready to stop the machine as needed to adjust the yarn. Once completed, remove the hoop and unhoop your project. Rub your fingers over the yarn to fluff the fibers over the stitches.
Happy Stitching!


